
Sump and water tank leaks: why they happen and how they're sealed
A leaking sump wastes water, lets dirty groundwater in and weakens the structure. Signs to watch for in Bangalore, and how sump waterproofing is done properly.
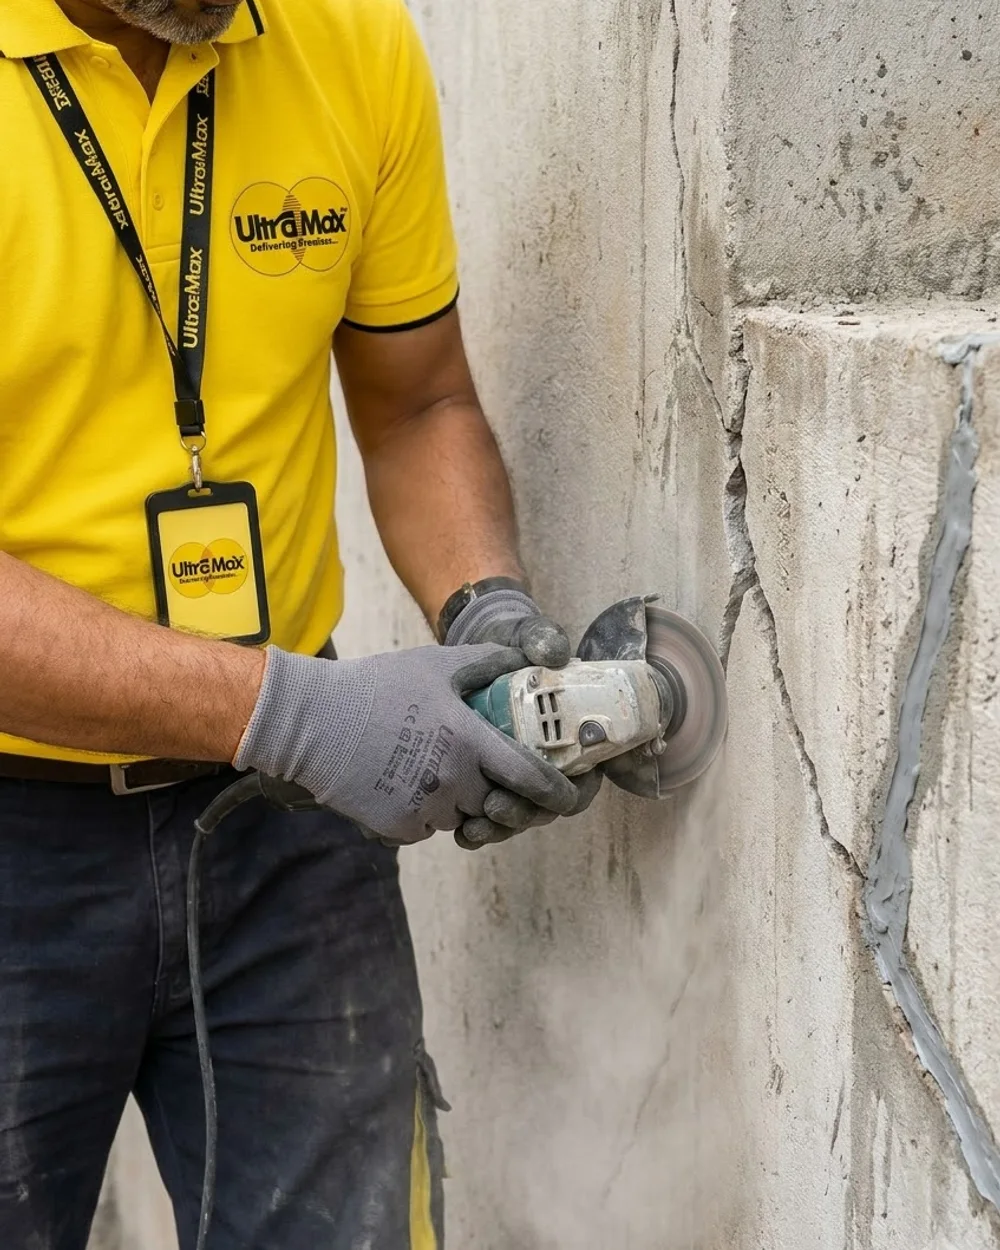
Almost every independent house and apartment in Bangalore has an underground sump. It holds the water the whole building depends on, sits buried in wet soil, and is rarely looked at until something goes wrong. A leaking sump is more than a water bill problem. It can let groundwater and dirt into your drinking water supply, and constant seepage slowly damages the concrete around it.
Signs your sump is leaking
- The water level drops when nobody is using water. Fill it, note the level, and check again after a few hours with the motor off and taps closed. A clear drop means water is escaping.
- The water looks cloudy or muddy after rain. When the groundwater level rises in the monsoon, a cracked sump can let outside water in.
- Damp patches or moss on the ground or walls near the sump.
- Visible cracks, flaking plaster or exposed steel when the sump is emptied for cleaning.
Why sumps crack
A sump is a concrete box under constant stress from two directions. When it is full, water pushes outward. When it is empty, the surrounding soil and groundwater push inward. Over time that cycle, along with some common construction issues, opens cracks:
- Construction joints. Where the floor was cast separately from the walls, there is a joint. If it wasn’t sealed during construction, it is the first place to leak.
- Honeycombing. Poorly compacted concrete leaves voids that water can travel through.
- Pipe inlets and outlets passing through the wall, which often aren’t sealed around their edges.
- Plaster-only waterproofing. A plaster coat alone cracks along with the concrete behind it.
How sump waterproofing is done
A lasting repair works from the inside and follows a set order:
- Empty, clean and dry the sump. Coatings need a clean, dry surface to bond, so this step can’t be rushed.
- Inspect every surface. Cracks, honeycombed patches and joints are marked. Loose plaster is removed back to sound material.
- Treat the cracks and joints individually. Cracks are opened and filled, and the floor-wall joint and pipe openings get their own detailing, because these are where most sump leaks start.
- Apply the waterproofing system over the entire inner surface, floor and walls, not just the visible cracks. For a water-holding tank the material has to be suitable for contact with drinking water.
- Cure and test. The coating is allowed to cure fully, then the sump is filled and the level is watched before it goes back into regular use.
Overhead tanks too
Concrete overhead tanks fail in the same ways, and they can also leak into the slab they sit on, which then shows up as a damp ceiling on the top floor. If your terrace has a concrete tank and the room below it has a damp patch, check the tank before you blame the terrace. If the tank is sound, why terraces leak every monsoon covers the other usual entry points.
When to do it
The dry months are best, when the groundwater level is low and the structure can dry out properly before treatment. Combine it with your regular sump cleaning so the tank only has to be emptied once.
Losing water or seeing muddy water after rain? Ultra Max inspects before recommending work. See our PropChk waterproofing page.
Talk to Ultra Max
We inspect first, then give you one clear plan. Serving homes and businesses across Bengaluru.
See sump waterproofing